
Roll Up Banner Photoshop Tutorial | Free PSD Template
Roll Up Banner Photoshop Tutorial | Free PSD Template
How’s it, creative fam! You’re in the right spot if you want to level up your design game. Create killer roll-up banners that’ll make people stop and stare. This roll up banner photoshop tutorial is for you if you’re a hustler from Jozi. It’s also for you if you’re a beach bum from Durban or a design ninja from Cape Town. It’s gonna be your new best friend.
Table of Contents
Why Roll Up Banners are the Real MVP
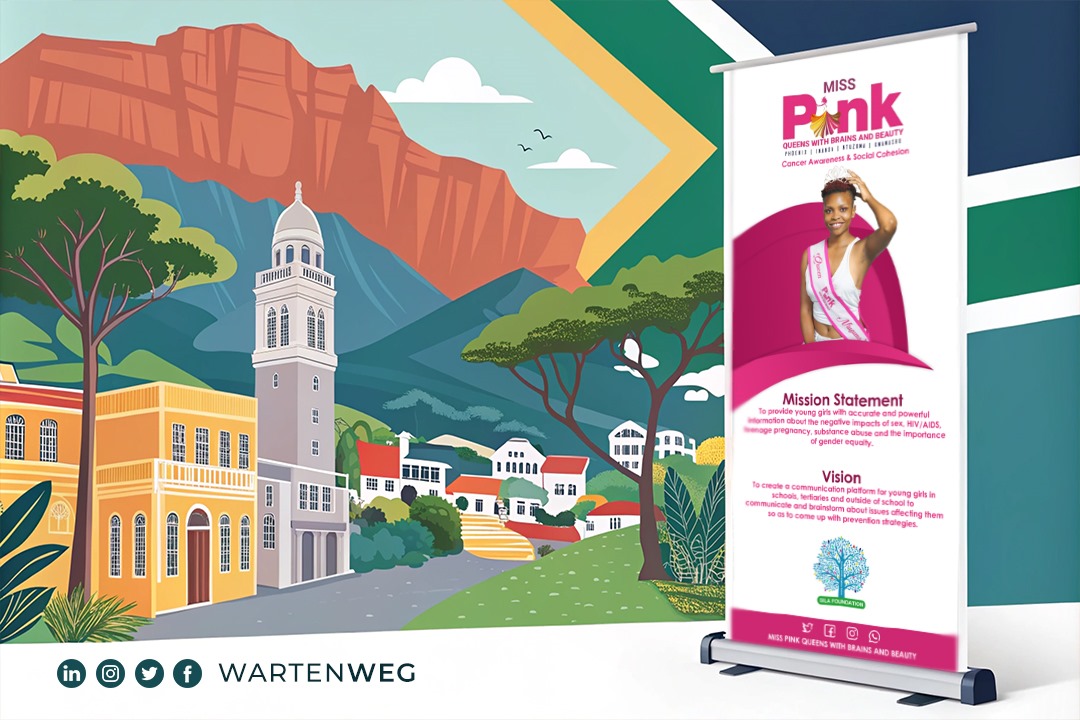
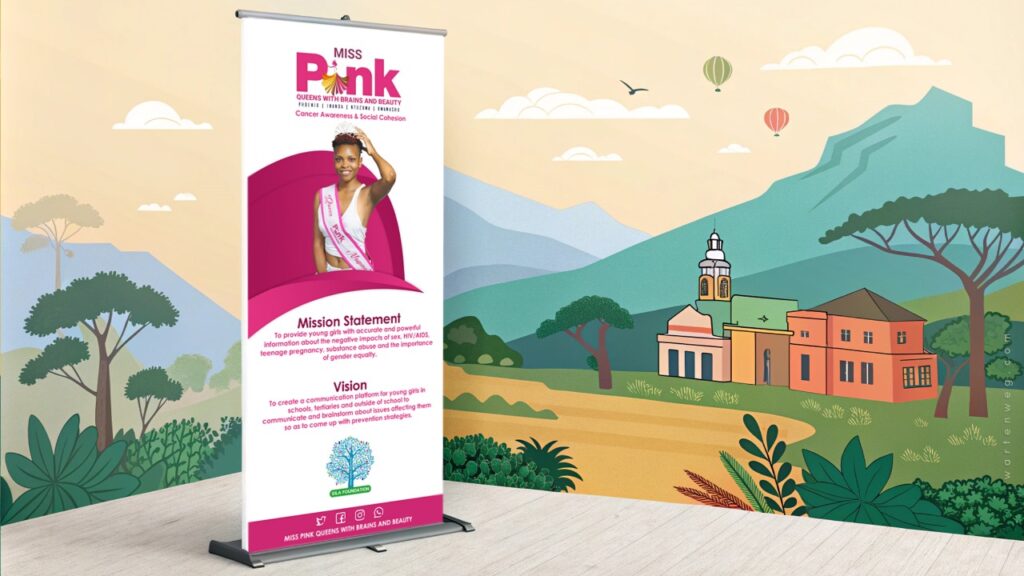
Listen up, because roll up banners are not just another piece of marketing swag—they’re your brand’s silent ambassador. These portable powerhouses are like the Swiss Army knife of marketing materials. Imagine attending a trade show, conference, or client meeting. You have a banner that tells your entire story in one slick design. Boom!
The Warten Weg Way: Design That Speaks Volumes
Our mates at Warten Weg know a thing or two about creating banners. These banners don’t just sit there looking pretty. They actually work hard for your brand. These aren’t just pieces of printed material—they’re conversation starters, attention grabbers, and brand builders.
Getting Started: Your Photoshop Survival Kit
Before we dive deep, let’s talk tech. Adobe Photoshop is going to be your canvas, your paintbrush, and your design playground. Don’t stress if you’re not a Photoshop pro yet—we’ll break this down lekker.
Step 1: Document Setup (The Foundation, Bru)
- Fire up Photoshop.
- Create a new document
- Pro tip: Aim for 150-300 PPI for that crisp, clean print quality.
- Standard banner sizes? Think about your context—exhibitions, retail spaces, conferences.
Pro Designer Insider: Size Matters
- Standard Pull Up Banner: Around 800mm x 2000mm
- Width: Typically 850mm
- Height: Usually between 1.8m and 2.2m
- Always check with your local print shop in Cape Town or Joburg for specific requirements.
Design Elements That Pop!
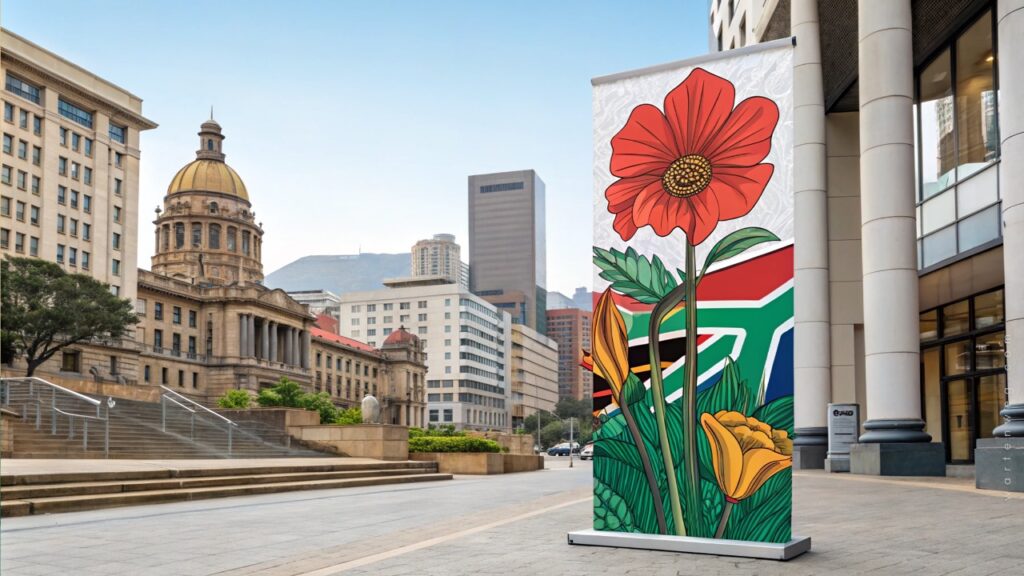
Background Vibes
Choose a background that tells a story. It’s not just a colour—it’s the mood of your brand. Want corporate? Go sleek. Want energy? Bring some colour!
Image Selection: Make Them Look Twice
- High-resolution images (no pixelation, please!)
- Relevant to your brand
- Professional shots that scream quality
Typography: Words That Work
Font selection is like choosing your outfit for a big meeting. It’s gotta be:
- Readable
- On-brand
- Sized for impact
Technical Walkthrough: From Blank Canvas to Banner Brilliance
Image Placement
- File > Place
- Resize with proportions locked
- Position like a pro
Text Magic
- Select Text Tool
- Play with fonts, sizes, and colours.
- Guarantee readability from a distance
Logo Placement
- Small but significant
- Usually bottom or top corner
- Crisp and clear
Print Prep: From Screen to Reality
Saving Your Masterpiece
- High-quality PDF
- JPEG for backup
- Check colour modes (CMYK for print!).
Printing Options
- Local print shops in Jozi and Cape Town
- Online printing services
- Always do a test print!
Common Mistakes to Dodge
- Low-resolution images
- Overcrowded design
- Unreadable text
- Boring color schemes
Free Resources (Because We’re Cool Like That)
Free PSD Templates
- Check design marketplaces
- Look for templates compatible with your vision
- Modify, don’t just copy
Final Pro Tips from the Street
- Less is more
- Tell a story in seconds
- Your banner should work harder than a taxi driver in peak hour
- Quality over everything
Bonus: Local Design Inspo
Take a walk down Long Street in Cape Town or Maboneng in Joburg. Look at how local businesses use banners. Learn from the streets, bru!
Disclaimer: This tutorial is dedicated to all the designers hustling to make South Africa’s visual landscape more vibrant. We go well, and design like a boss!
FAQ’s – Roll Up Banner Photoshop Tutorial
What is a roll up banner Photoshop tutorial?
A Roll Up Banner Photoshop Tutorial provides step-by-step instructions for designing eye-catching roll up banners using Adobe Photoshop. It covers essential techniques and best practices for creating professional-looking banners.
Why learn how to design roll up banners in Photoshop?
Designing roll up banners in Photoshop empowers you to create custom visuals that perfectly represent your brand. This empowers you to control every aspect of your marketing materials for events and exhibitions.
What software do I need for this Roll Up Banner Photoshop Tutorial?
This Roll Up Banner Photoshop Tutorial requires Adobe Photoshop software. While other graphic design tools exist, Photoshop is the most commonly used and offers extensive design capabilities.
What will I learn in a roll up banner Photoshop tutorial?
A complete Roll Up Banner Photoshop Tutorial will teach you the fundamental principles of design. It will also cover banner layout techniques. You will learn effective image and text placement for a professional-looking output.
Are there any templates included in a Roll Up Banner Photoshop Tutorial?
Some Roll Up Banner Photoshop Tutorials include templates to get you started. Good tutorial will focus on how to tailor the templates to your needs. It will also teach you how to create entirely unique designs. This enables you to craft unique, eye-catching banners.
About the Author
A proudly South African design guide, crafted with love, caffeine, and a whole lot of creative energy. Shap!
Would you like me to adjust anything to make it even more authentically South African or design-focused?